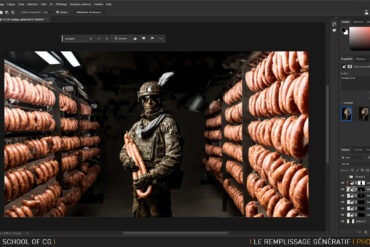
Formation cinéma
Le photographe doit-il se former à la vidéo pour étendre ses compétences créative et narrative?
De nombreux photographes se tournent aujourd'hui vers la vidéo au travers des formations dédiées au cinéma. Tendance ou évolution naturelle du métier de l'image, participez au débat dans les commentaires !


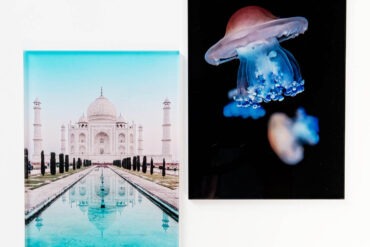


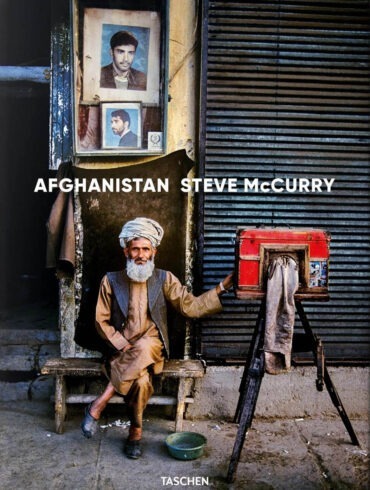
Livres de photographie
Retrouvez une sélection des plus beaux livres de photographies et recueil techniques


À lire également


Devenez membre, c'est gratuit !
Rejoignez les nombreux abonnés et recevez les nouveaux articles, mes réflexions sur la photographie, et la possibilité d'acheter le matériel testé sur le site à petit prix.
Blog Photo & Communauté
VirusPhoto est le carrefour des passionnés de photographie numérique. Que vous soyez à la recherche des dernières tendances, des conseils pratiques ou d'une dose quotidienne d'inspiration, ce blog est dédié à enrichir votre parcours photographique.
Envie d'être accompagné(e) ? Rejoignez notre communauté dynamique pour explorer, partager et célébrer la photographie.


Conseils photo
Articles autour de la photographie


Devenez membre, c'est gratuit !
Rejoignez les nombreux abonnés et recevez les nouveaux articles, mes réflexions sur la photographie, et la possibilité d'acheter le matériel testé sur le site à petit prix.